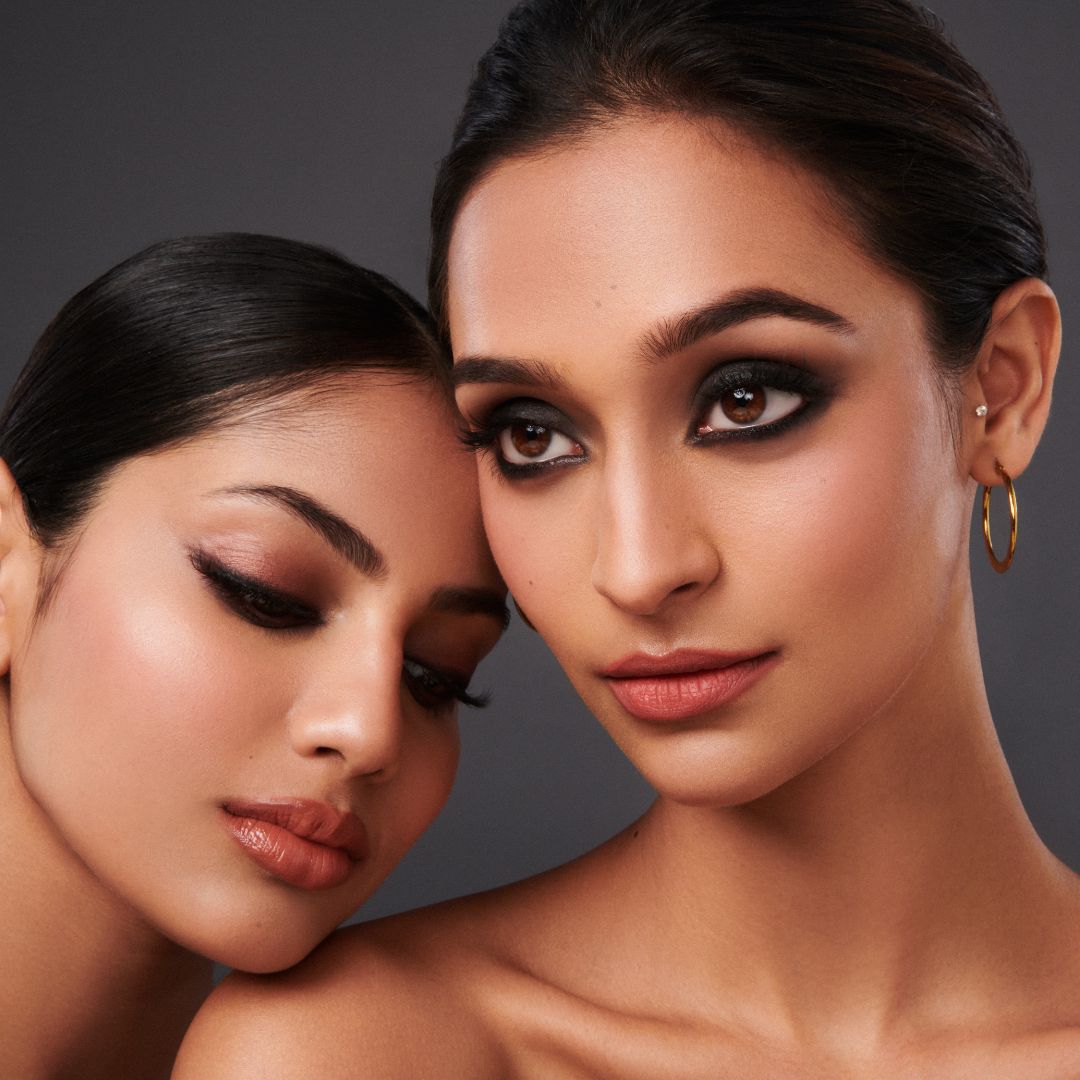
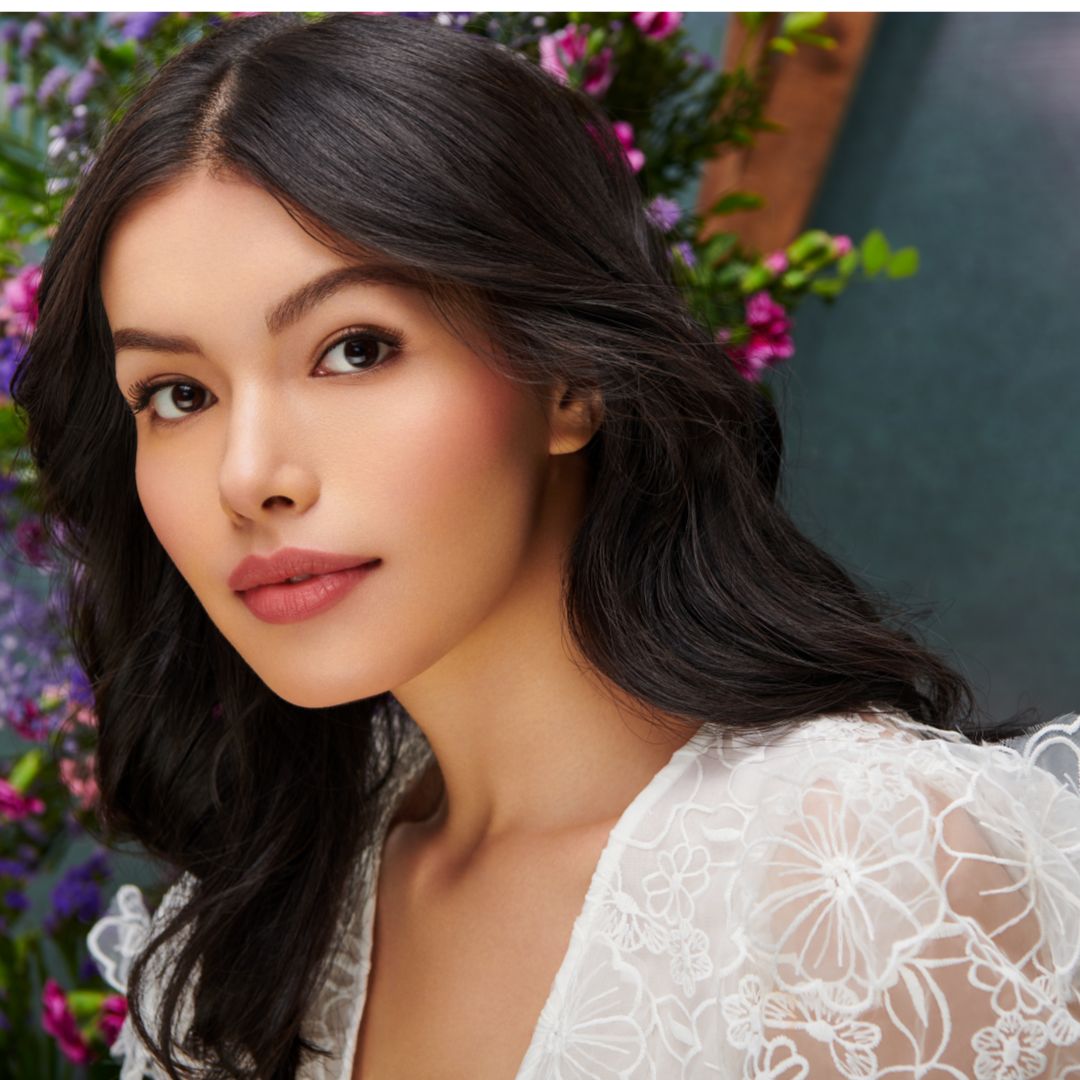
Rosy cheeks and that oh-so-cute pop of colour on the nose—thank Reel trends and Hailey Bieber for making us all obsessed with this look! What used to be just a sidekick for perking up your cheeks has now taken centre stage in our makeup routines. Yes, darling, we’re talking about the blush, the unsung hero of your beauty arsenal. From the red carpet to your favourite Insta feed, we’ve seen our beloved A-listers flaunting that dreamy, sun-kissed glow, and let’s be honest—we’ve all been inspired to recreate that effortlessly radiant look. But here’s the secret, it’s all about blush play! A lot depends on your blush application technique than you may think. And yes, while the classic blush application technique may have worked all these years, it’s time to take your blush game up a notch with these 5 blush application techniques.

LOOK #1: Lifted
The most commonly used blush application technique in today’s day and age, because who doesn’t love the look of a sculpted face, right? All this technique requires you to do is simply blend your blush in an upward motion moving from the apples of your cheeks up toward your temples. This technique is an easy way to ditch your contouring products because it helps give your face a more chiselled, lifted look with just a blush.
LOOK #2: Flushed
The tried & tested, overdone & not yet dusted - this blush application technique is a classic for a reason. This classic blush blending technique focuses on the apples of the cheeks & requires you to stick to the ‘smile & apply’ method to get the best results. The only addition to this is it requires you to blend your product under the eye area to create a more plump, flushed, rounded look. Much like a doll’s blush placement, this helps give you a more youthful, flushed look.
LOOK #3: Sun-kissed
This blushing blending technique was all the rage at one point (and it still is!) This technique is for the ones who are obsessed with blush and aren’t afraid to go a little overboard with it. This technique requires you to apply your blush on the apples of your cheeks and across the bridge of your nose and finish up with a touch under your eyes. That sounds like a lot, we know! Of course, there’s a not-so-overboard way to go about this technique by sticking to applying your product only on the apples of your cheeks and the tip of your nose. This helps give a more natural look.
LOOK #4: Draped
This blush application technique is another one that requires you to go all out with your blush. Starting from the outer corner of the eyes near your eyeshadow, moving to your cheekbones & over your nose, and ending over the arch of your eyebrows. Blend your product well till the colour connects from all ends for that perfect draped effect. This technique also helps contour your face without actually having to use your contour products, giving you a more natural, fresh look that doesn’t look or feel heavy.
LOOK #5: Monochrome
This blush application technique is all about sticking to one colour for everything. From your eyes to your lips, to your nose and your cheeks, one blush hue for every part of your face. Pick a blush of your choice and start blending it on the apples of your cheeks, onto the bridge of your nose, and use the same on your eyelids & lips. This helps create a more cleaner, natural look. And, not to mention, this is the quickest technique to get you ready in a jiffy without having to choose between colours that complement each other.
Keep switching between these 5 blush application techniques to spruce up your looks for any & every day of the week, or any & every occasion. But every face is different in its way, and there’s a blush blending technique that works best for each. While every technique can be made to work for every type of face, some particular blush placement for face shapes just sits perfectly!
Here’s a quick guide that will help you get an idea about the best blush placement for face shapes.
It’s easier to get that natural plump, flushed look on round faces because your cheeks are your key feature. Apply your blush slightly higher on your cheekbones, closer to your under-eye area and move upward toward your temples. This will help give your round face a lifted look, naturally sculpted without the need for contour products.
This face shape is quite proportional and most blush application techniques look good on this face shape. Oval faces are slightly longer, and if you’re looking to add some roundness to them then focus your product application on the apples of your cheeks and along your cheekbones. This will help your cheeks look more fuller. If you want to add some definition to your oval face, use a contour before your blush.
This face shape has sharper features with straight sides and an angular jawline. To soften the sharpness of square face features, you need to add some roundness to it by concentrating the blush placement for face shape around the apples of your cheeks. A flushed, doll blush-like look is ideal for square faces as it helps soften the features. Apply your product on the apples of your cheeks and gently blend it out toward your ears.
This face shape is slightly longer like oval faces and has well-defined cheekbones and a pointy chin. To accentuate it, the best blush placement for face shape is the ‘c placement’. This requires you to apply your product from the top of your cheekbones to the edge of your eyebrows. Move your brush in an upward motion when blending, from the cheekbones up to the brows. Blend it out well to give your blush a soft & natural appearance.
Much like oval faces, diamond-shaped faces have similar features but with a more pointy chin. Resort to higher blush placement for face shape to accentuate its features while still softening them in a natural-looking way. Apply your blush over your cheekbones and blend them outward toward your ears.
Still think applying blush is easy? Absolutely! With the right blush application techniques and blush placement for face shape, you can create a look to remember! Now that we’ve told you about the hows and the wheres of applying your blush, let’s resolve the question of what - we mean by choosing the best blush colours for skin tones.
Here’s a short & easy guide to picking the best blush colours for skin tones featuring the best of Simply Nam’s range of blushes.
Fair Skin Tones
Hues of pink and peaches are ideal for this skin tone as they aren’t overpowering in nature. The softness of these colours will complement fair skin tones by adding the perfect pinch of colour.
Simply Nam Recommends: Sister From Another Mister - Velvet Cream Magic Blush
Medium Skin Tones
It is safe to say that the best blush colours for skin tone are all! Medium skin tones can pull off any shade, from soft pink & peaches to bold berry & bronzes. So if you’re a medium-skinned girlie, then go all out and experiment with any & every shade out there.
Simply Nam Recommends: Soul Sister - Velvet Cream Magic Blush
Olive Skin Tones
Neither dark nor light, just perfectly tanned - olive skin tones are unique in their way. As unique as this skin tone is, be particular about the blush colour you choose. Bold pink or peachy hues make for a great pick for olive skin tones.
Simply Nam Recommends: Pink Jasmine - Radiant Powder Magic Blush
Click here to check out makeup maestro, Namrata Soni using this newest blush from the Simply Nam collection on Sonam Kapoor.
Deep Skin Tones
Deeper hues are considered best for dark skin tones. Berry & brown shades complement this skin tone the best, but a touch of rosy pinks never hurt anybody, even ones with a dark skin tone. Experiment a little and opt for a rosy pink blush for your dark skin tone.
Simply Nam Recommends: Rosy Bloom - Radiant Powder Magic Blush P.S. - This shade even has a touch of shimmer, win-win!
Best (and easiest) blush application techniques question - answered!
Best blush placements for face shapes question - answered!
Best blush colour for skin tones question - answered!
Now all that’s left to do is create the perfect looks with your favourite Simply Nam Blushes!

 Track Your Order


